


Intro
Drag and drop is super important to modern web development. People expect to be able to drag and drop items. It can be a bad user experience if drag and drop is not supported and can leave users confused and frustrated.
Many libraries implement drag and drop, but it is relatively easy to create in vanilla JS and HTML even if you don't want to install any packages.
Background
Drag and drop functionality is actually built into HTML in the form of the drag and drop API. This API uses drag events to create the ability to drag and drop HTML elements. Keep in mind that the drag and drop API only works for desktop.
In the following example, we will create a simple "to-do app" interface. We will not implement the actual logic of the app, just the drag and drop functionality.
Step 1: Create the Elements
First, we need to create a draggable element and something we can drop things onto (the droppable element.) Here, we will create a page with:
- a to-do
divwith one to-do element - a done
divthat is empty (for now)
<div id="container">
  <div id="to-do">
    <h4>To Do</h4>
    <div class="box" id="task-1">feed the cat</div>
  </div>
  <div id="done">
    <h4>Done</h4>
    <div id="done-items"></div>
  </div>
</div>
Styling
The specific styling isn't incredibly important here, but this is the quick-and-dirty CSS for the example:
.container {
  display: flex;
}

#to-do {
  width: 160px;
}

.box {
  background-color: orange;
  padding: 10px;
  height: 20px;
  border: 1px solid black;
}

#done {
  margin-left: 20px;
}

#done-items {
  height: 260px;
  width: 200px;
  border: 2px solid black;
}
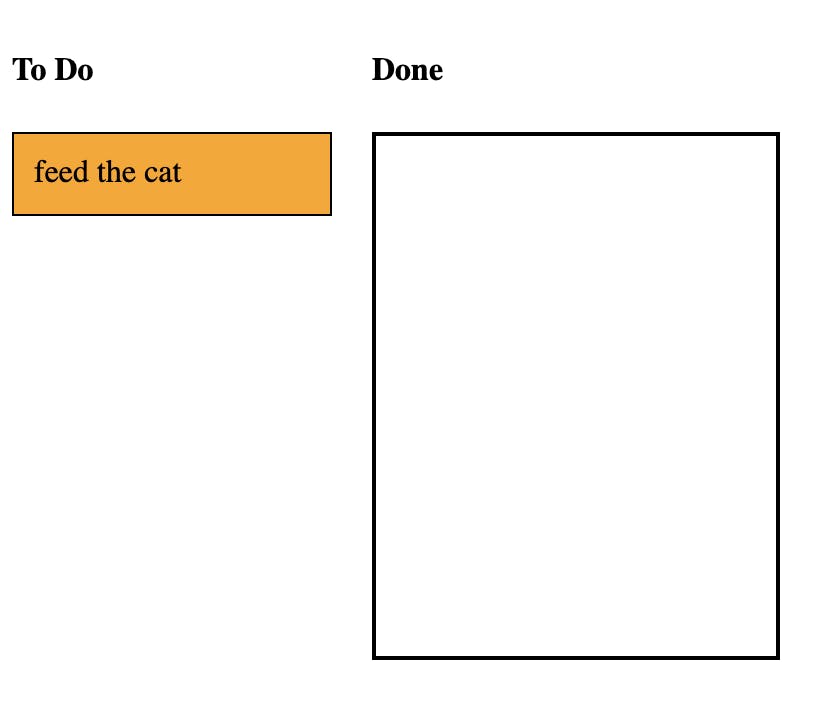
Here's what we have so far:
Step 2: Make Your Task Draggable
By default, our div is not draggable, so let's fix that!
First, set the draggable attribute in our to-do item to true.
<div class="box" id="task-1" draggable=true>feed the cat</div>
Now, we need to write some JavaScript to handle the ondragstart event. ondragstart, as you can imagine, fires when a user starts dragging a draggable element. This function will use the dataTransfer object to store the data that we're dragging. That's all we need to do here.
const onDragStart = (e) => {
  e.dataTransfer.setData('text/plain', e.target.id);
};
Finally, we add our new onDragStart function to our to-do item so it will run when the user triggers the ondragstart event.
<div class="box" id="task-1" draggable=true
  ondragstart="onDragStart(event);">
  feed the cat
</div>
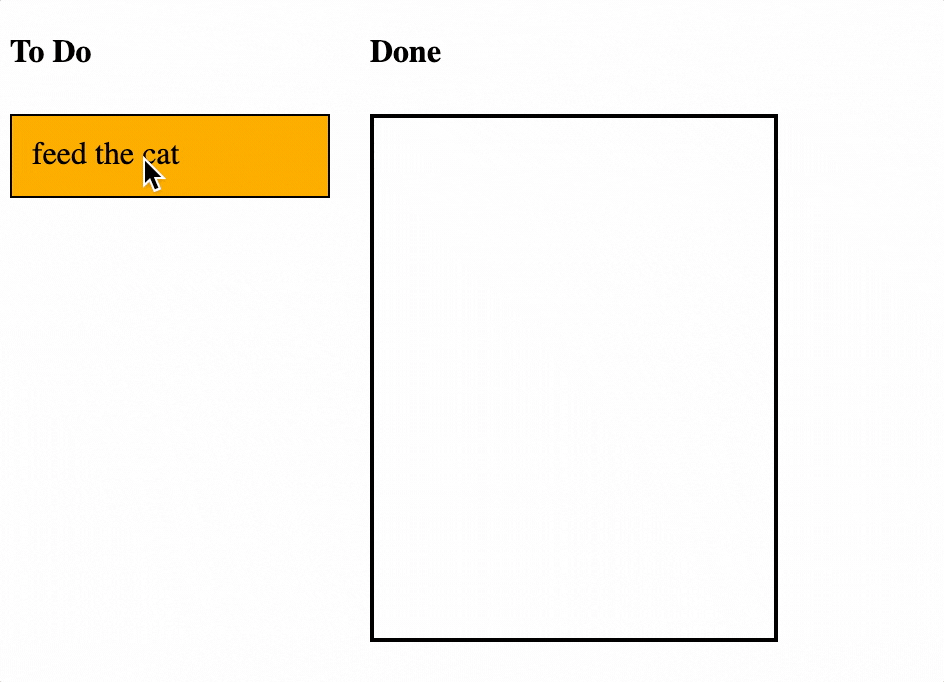
Now we can drag our task, but we can't drop it yet. If we let go of the mouse button, it just pops back to where it started.
Step 3: Handle Dragging
The next step is to handle the ondragover event. This is another straightforward function. We need to prevent the default action from occurring when the dragover event fires. This is as simple as the single line: e.preventDefault().
const onDragOver = (e) => {
  e.preventDefault();
};
Then, just add this function to our "Done" div:
<div id="done-items" ondragover="onDragOver(event);"></div>
Step 4: Make Your Task Droppable
To make our task "droppable," we need to handle the drop event. In our handler, we need to get the element we are dragging, append it to the "Done" div, and clean up the dataTransfer object.
const onDrop = (e) => {
  // grab droppable element from dataTransfer object
  const id = e.dataTransfer.getData('text');
  const draggableElement = document.getElementById(id);

  // get the element we are dropping onto
  const dropArea = e.target;

  // append droppable element to the drop area (the "Done" column)
  dropArea.appendChild(draggableElement);

  // clean up the dataTransfer object
  e.dataTransfer.clearData();
};
Add this function to our "Done" div:
<div id="done-items" ondragover="onDragOver(event);" ondrop="onDrop(event)";></div>
Voilà! We can now drag and drop!
Step 5: Add extra functionality
Now that we have the basics down, we can expand the functionality a bit. It is very easy to add more tasks and make it so that items can be "put back."
Make more tasks
It's straightforward to make more draggable tasks. For them to work as expected, they need to satisfy these criteria:
- Their
draggableattributes are set totrue - They call the
onDragStartfunction - They have unique
ids
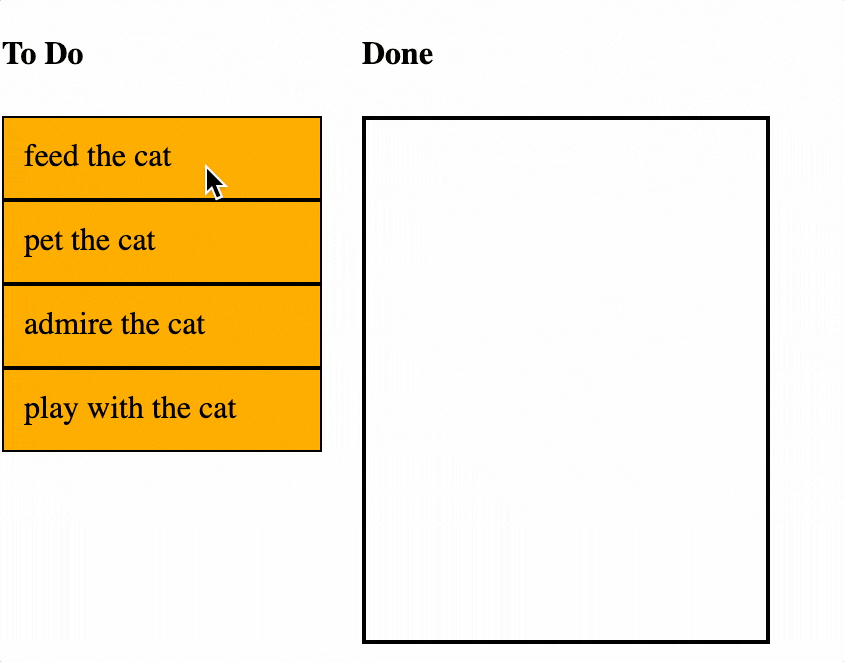
Here is a series of task elements:
<div id="to-do">
  <h4>To Do</h4>
  <div id="task-1" class="box" draggable=true ondragstart="onDragStart(event);">
feed the cat</div>
  <div id="task-2" class="box" draggable=true ondragstart="onDragStart(event);">
pet the cat</div>
  <div id="task-3" class="box" draggable=true ondragstart="onDragStart(event);">
admire the cat</div>
  <div id="task-4" class="box" draggable=true ondragstart="onDragStart(event);">
play with the cat</div>
</div>
Make tasks "put-backable"
Now, we can move our tasks to the "Done" column, but we can't move them back. What if I accidentally indicate that I fed the cat but then remember that I didn't yet? This is another simple fix.
All you have to do is add the onDragOver and onDrop event handlers to the tasksparentdiv`, like this:
<div id="tasks" ondragover="onDragOver(event);" ondrop="onDrop(event);">
We're good to go!

Conclusion
To avoid downloading unnecessary packages, this is a pretty straightforward way to implement drag and drop. Remember that it will not work on mobile, so you will need to account for mobile users. It will help create a pleasurable user experience, however!